How to Send Contact Form 7 Submissions to Airtable
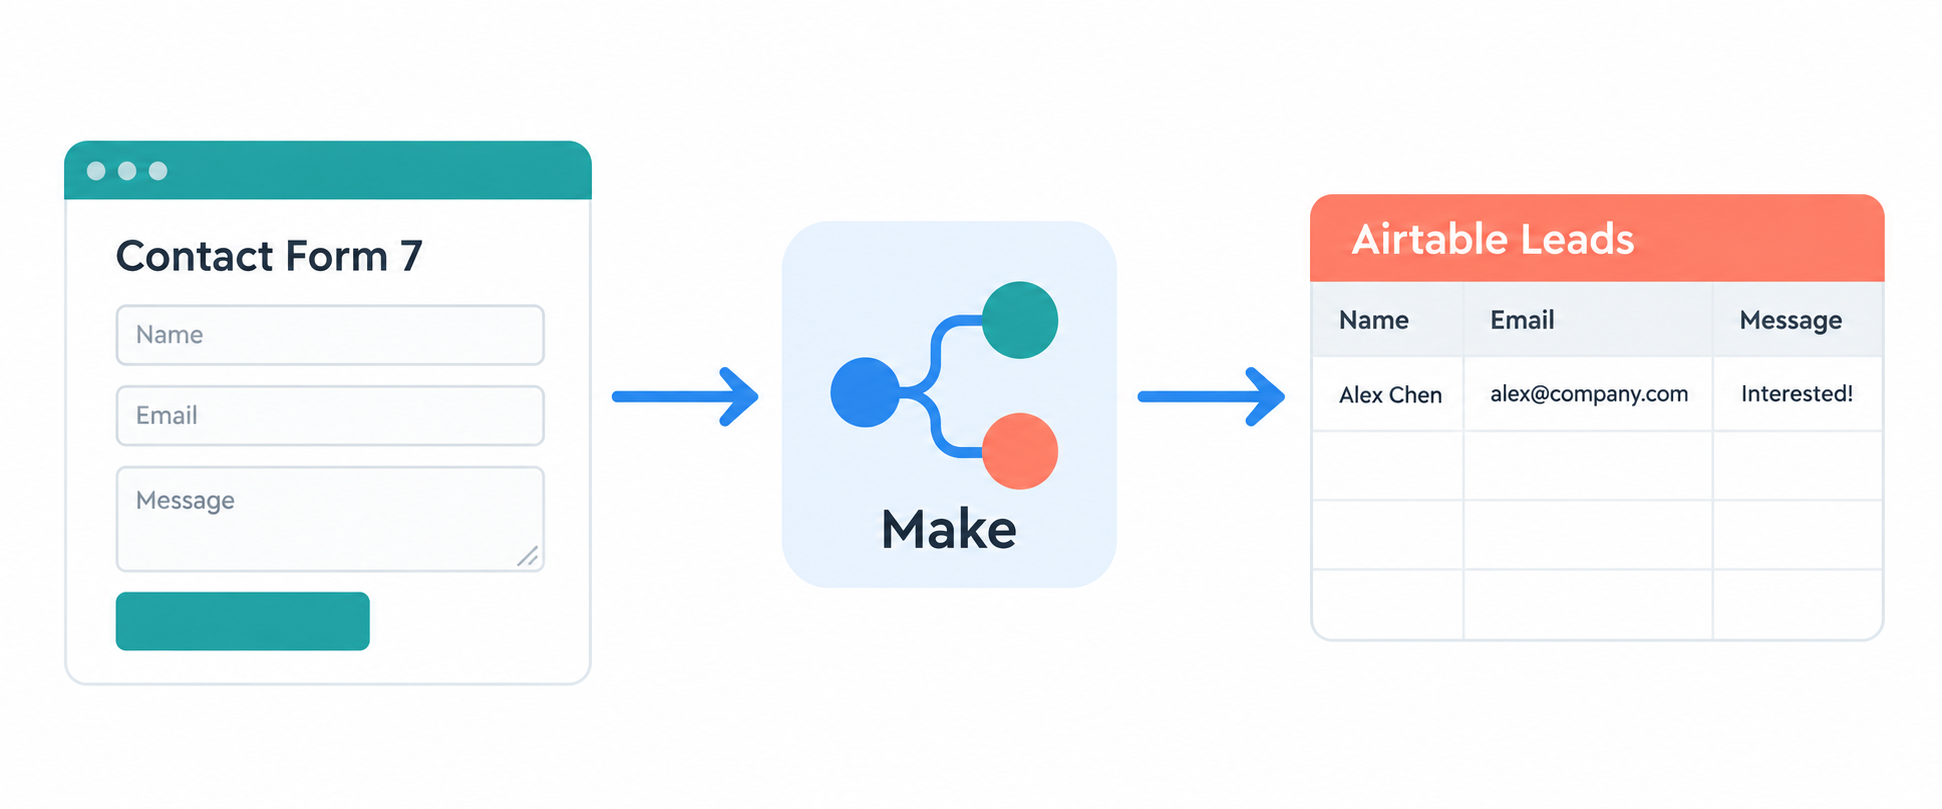
Want every Contact Form 7 submission to appear in Airtable? Contact Form 7 is the WordPress plugin that collects the form entry. In the setup below, a visitor submits their name, email address, phone number, and message, and a Make scenario creates one record with those details in an Airtable Leads table.
You will create the Airtable table first, connect Contact Form 7 to Make, map the form fields to Airtable, and test one submission before turning the scenario on.
Create the Airtable table first
Create a Leads table with fields that match the information in your Contact Form 7 form:
| Airtable field | Field type |
|---|---|
| Name | Single line text |
| Phone | Phone number |
| Message | Long text |
| Status | Single select |
Add a Created time field if you want Airtable to record when each submission arrived. Airtable fills it in when Make creates the record.
Connect Contact Form 7 to Make
Make needs an extra WordPress connection to receive Contact Form 7 entries. Install the CF7 Redirections, Integrations, and Database plugin with Contact Form 7, or use the CF7 to Webhook plugin instead.
In Make, create a new scenario and add Contact Form 7 > Watch New Form Submission. Create a webhook and copy its URL. Then add that URL to the Contact Form 7 integration settings in WordPress.
Choose the form you want to connect, click Run once in Make, and submit the form from your website. Make will use that submission to show you the fields that need to be mapped.
Map the submission to Airtable
Add Airtable > Create a Record as the next module in Make. Connect your Airtable account, choose the base, and select the Leads table.
Now map the values from Contact Form 7 to the matching Airtable fields:
- Contact Form 7 name → Name
- Contact Form 7 email → Email
- Contact Form 7 phone → Phone
- Contact Form 7 message → Message
- Status → New, if you added that field
The names do not have to be identical, but each value needs to go into the matching Airtable field. If you use Status, add New as one of its single select options before testing.
Click Run once again and submit a fresh test entry. Make should pass it to Airtable and create one record in Leads with the name, email, phone number, message, and status in the right fields.
After the test works, turn on the scenario. Every new Contact Form 7 submission will then create a record in Leads.
If a submission does not create a record
Start by checking the Make scenario history. If Make never received the submission, check the Contact Form 7 integration that contains the webhook URL.
If Make received the submission but Airtable rejected it, check the Airtable connection, the selected base and table, and the fields you mapped. The connection must be allowed to create records in that base.
Once new leads are arriving in Airtable, use the Status field to track which ones still need a reply. If you want Airtable to send follow-up messages automatically, see how to send automated follow-up emails in Airtable.