How to Build a Simple General Ledger in Airtable
If you want to track money coming in and going out in Airtable, use one Transactions table instead of separate tables for every type of payment or expense.
I’ll use a small repair business as the example. The business already keeps its customer and job records in Airtable, but it needs one place to record payments, materials, and other expenses.
This setup is useful for simple bookkeeping and internal reporting. It is not a replacement for accounting software or a formal double-entry ledger.
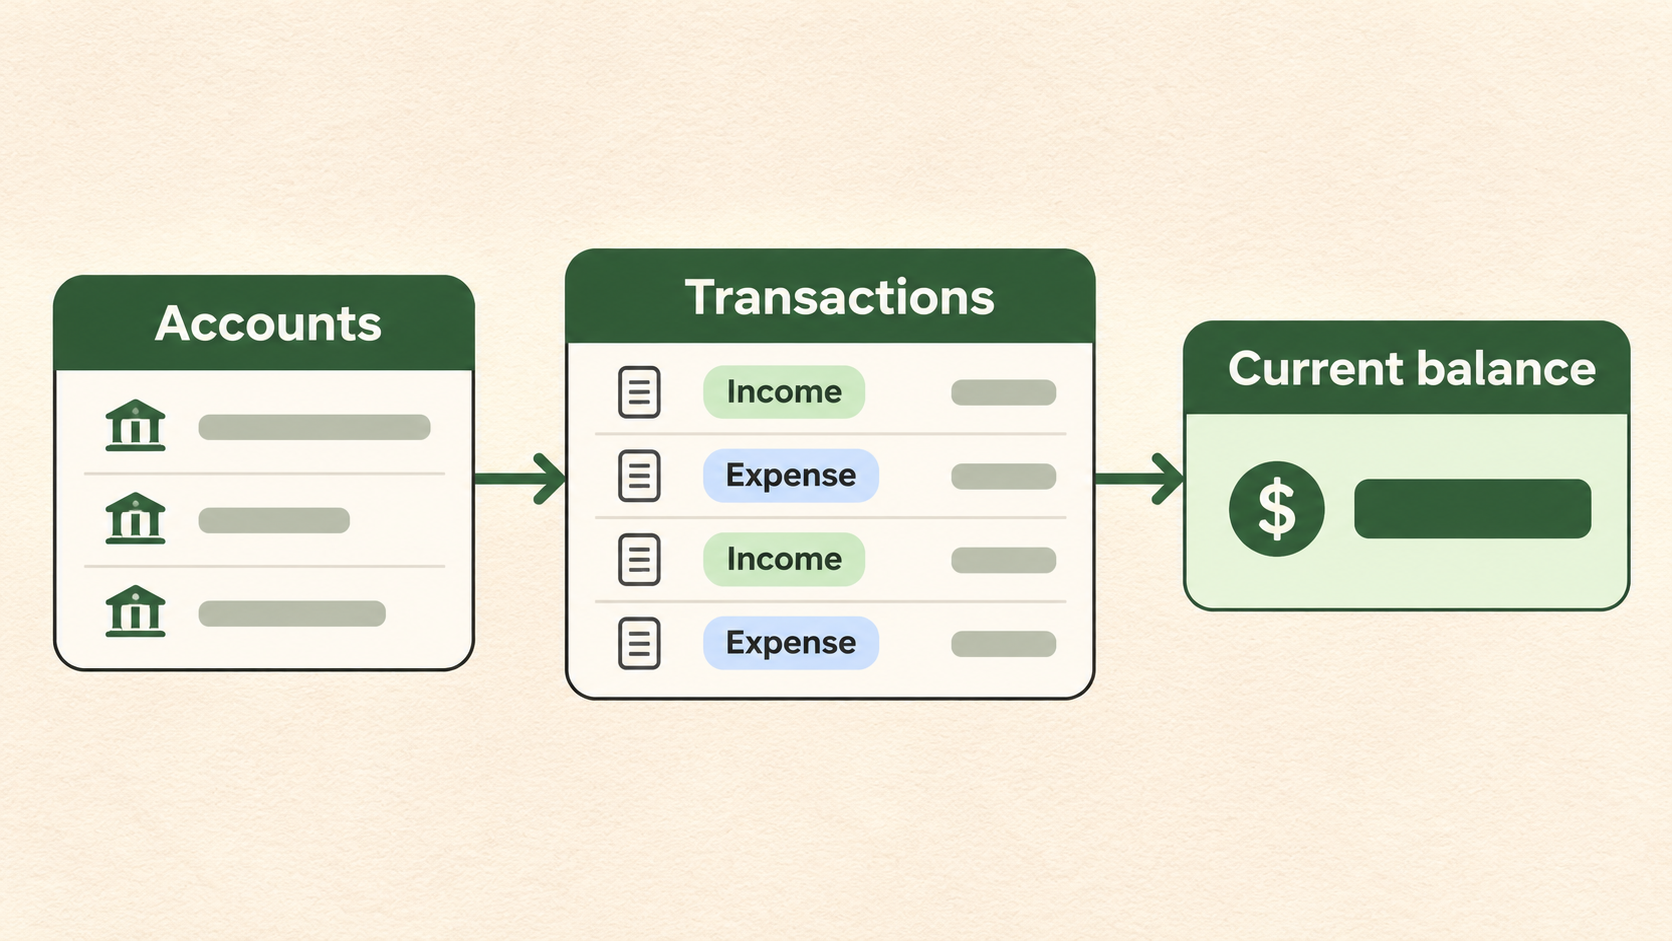
Create the Accounts table
Start with an Accounts table. Add one record for each place where the business keeps money, such as Business bank account, Cash, or Credit card.
Keep the first two fields simple:
| Field | Type | Purpose |
|---|---|---|
| Account name | Primary field | Names the account |
| Opening balance | Currency | Stores the balance when you start tracking |
Enter the opening balance for each account. The balance will be completed after you connect the account to its transactions.
Create the Transactions table
Add one record to Transactions for every payment or expense. For the repair business, a customer payment, a purchase of materials, and a bank fee are all transaction records.
Start with the fields that describe each transaction:
| Field | Type | Purpose |
|---|---|---|
| Description | Single line text | Explains what the transaction was for |
| Date | Date | Records when it happened |
| Type | Single select | Use Income or Expense |
| Amount | Currency | Stores the amount as a positive number |
| Category | Single select | Groups the transaction, such as Customer payment, Materials, or Bank fee |
| Reconciled | Checkbox | Marks the transaction after it has been checked against the bank or card statement |
| Receipt | Attachment | Stores a receipt or other supporting file |
You can leave Reconciled and Receipt out if you do not need to check transactions against statements or store supporting files.
Link transactions to accounts
Add an Account field to Transactions and choose Link to another record. Select the Accounts table.
Now link each transaction to the account that received or paid the money. A customer payment can link to Business bank account, while a material purchase can link to Business credit card.
Airtable creates the matching Transactions field in Accounts. That field lets each account show the transactions connected to it.
Mark income and expenses with a formula
Add a formula field called Signed amount to Transactions. It keeps income positive and changes expenses to negative values.
Use this formula:
IF({Type} = "Expense", -{Amount}, {Amount})
This keeps the original Amount easy to read while giving the account one number to add. Airtable formulas calculate values from fields in the same record, so the account balance will use a rollup.
Calculate each account's balance
Return to Accounts and add a Rollup field called Net movement.
Choose Transactions as the linked record field, select Signed amount as the field to summarize, and use:
SUM(values)
The rollup now adds the income and expenses linked to each account. Add a formula field called Current balance and use:
{Opening balance} + {Net movement}
As you add transactions, Current balance updates for the linked account. If an expense is $50, its signed amount is -$50, so it reduces the balance instead of increasing it.
Create views for daily bookkeeping
The Transactions table can contain every type of transaction. Use views to work with smaller lists:
- All transactions for the complete ledger
- Income filtered to Type is Income
- Expenses filtered to Type is Expense
- To reconcile filtered to unchecked Reconciled records
- This month filtered to the current month
You can group a view by Category to see how much was spent on materials, fees, or other expenses. For totals by category without filtering each one separately, see how to view category totals in Airtable.
Add existing business records when needed
If the business already has tables for customers, jobs, or invoices, link those records to Transactions instead of copying the same details into the ledger.
For example, add a Job linked record field to Transactions. A customer payment can then link to the job that produced it, while the transaction still remains part of the account balance.
Use a lookup field when you want the transaction to display the linked job's customer or job number. Use a rollup when you need to total values from linked records.
Build a report from the ledger
Once the Transactions table contains consistent dates, categories, and amounts, create an Interface dashboard with totals for income, expenses, and current balances. You can also add charts grouped by category or month.
For help choosing between an Airtable Interface and an external reporting tool, see how to connect Airtable to a dashboard. If you need charts inside Airtable, see how to create charts and graphs in Airtable.
If the ledger will receive transactions from bank exports or other files, keep the same fields in every import and add the source to each record. See how to combine data from multiple sources in Airtable.