Hitting Airtable's 50 Automation Limit? Here's What You Can Do
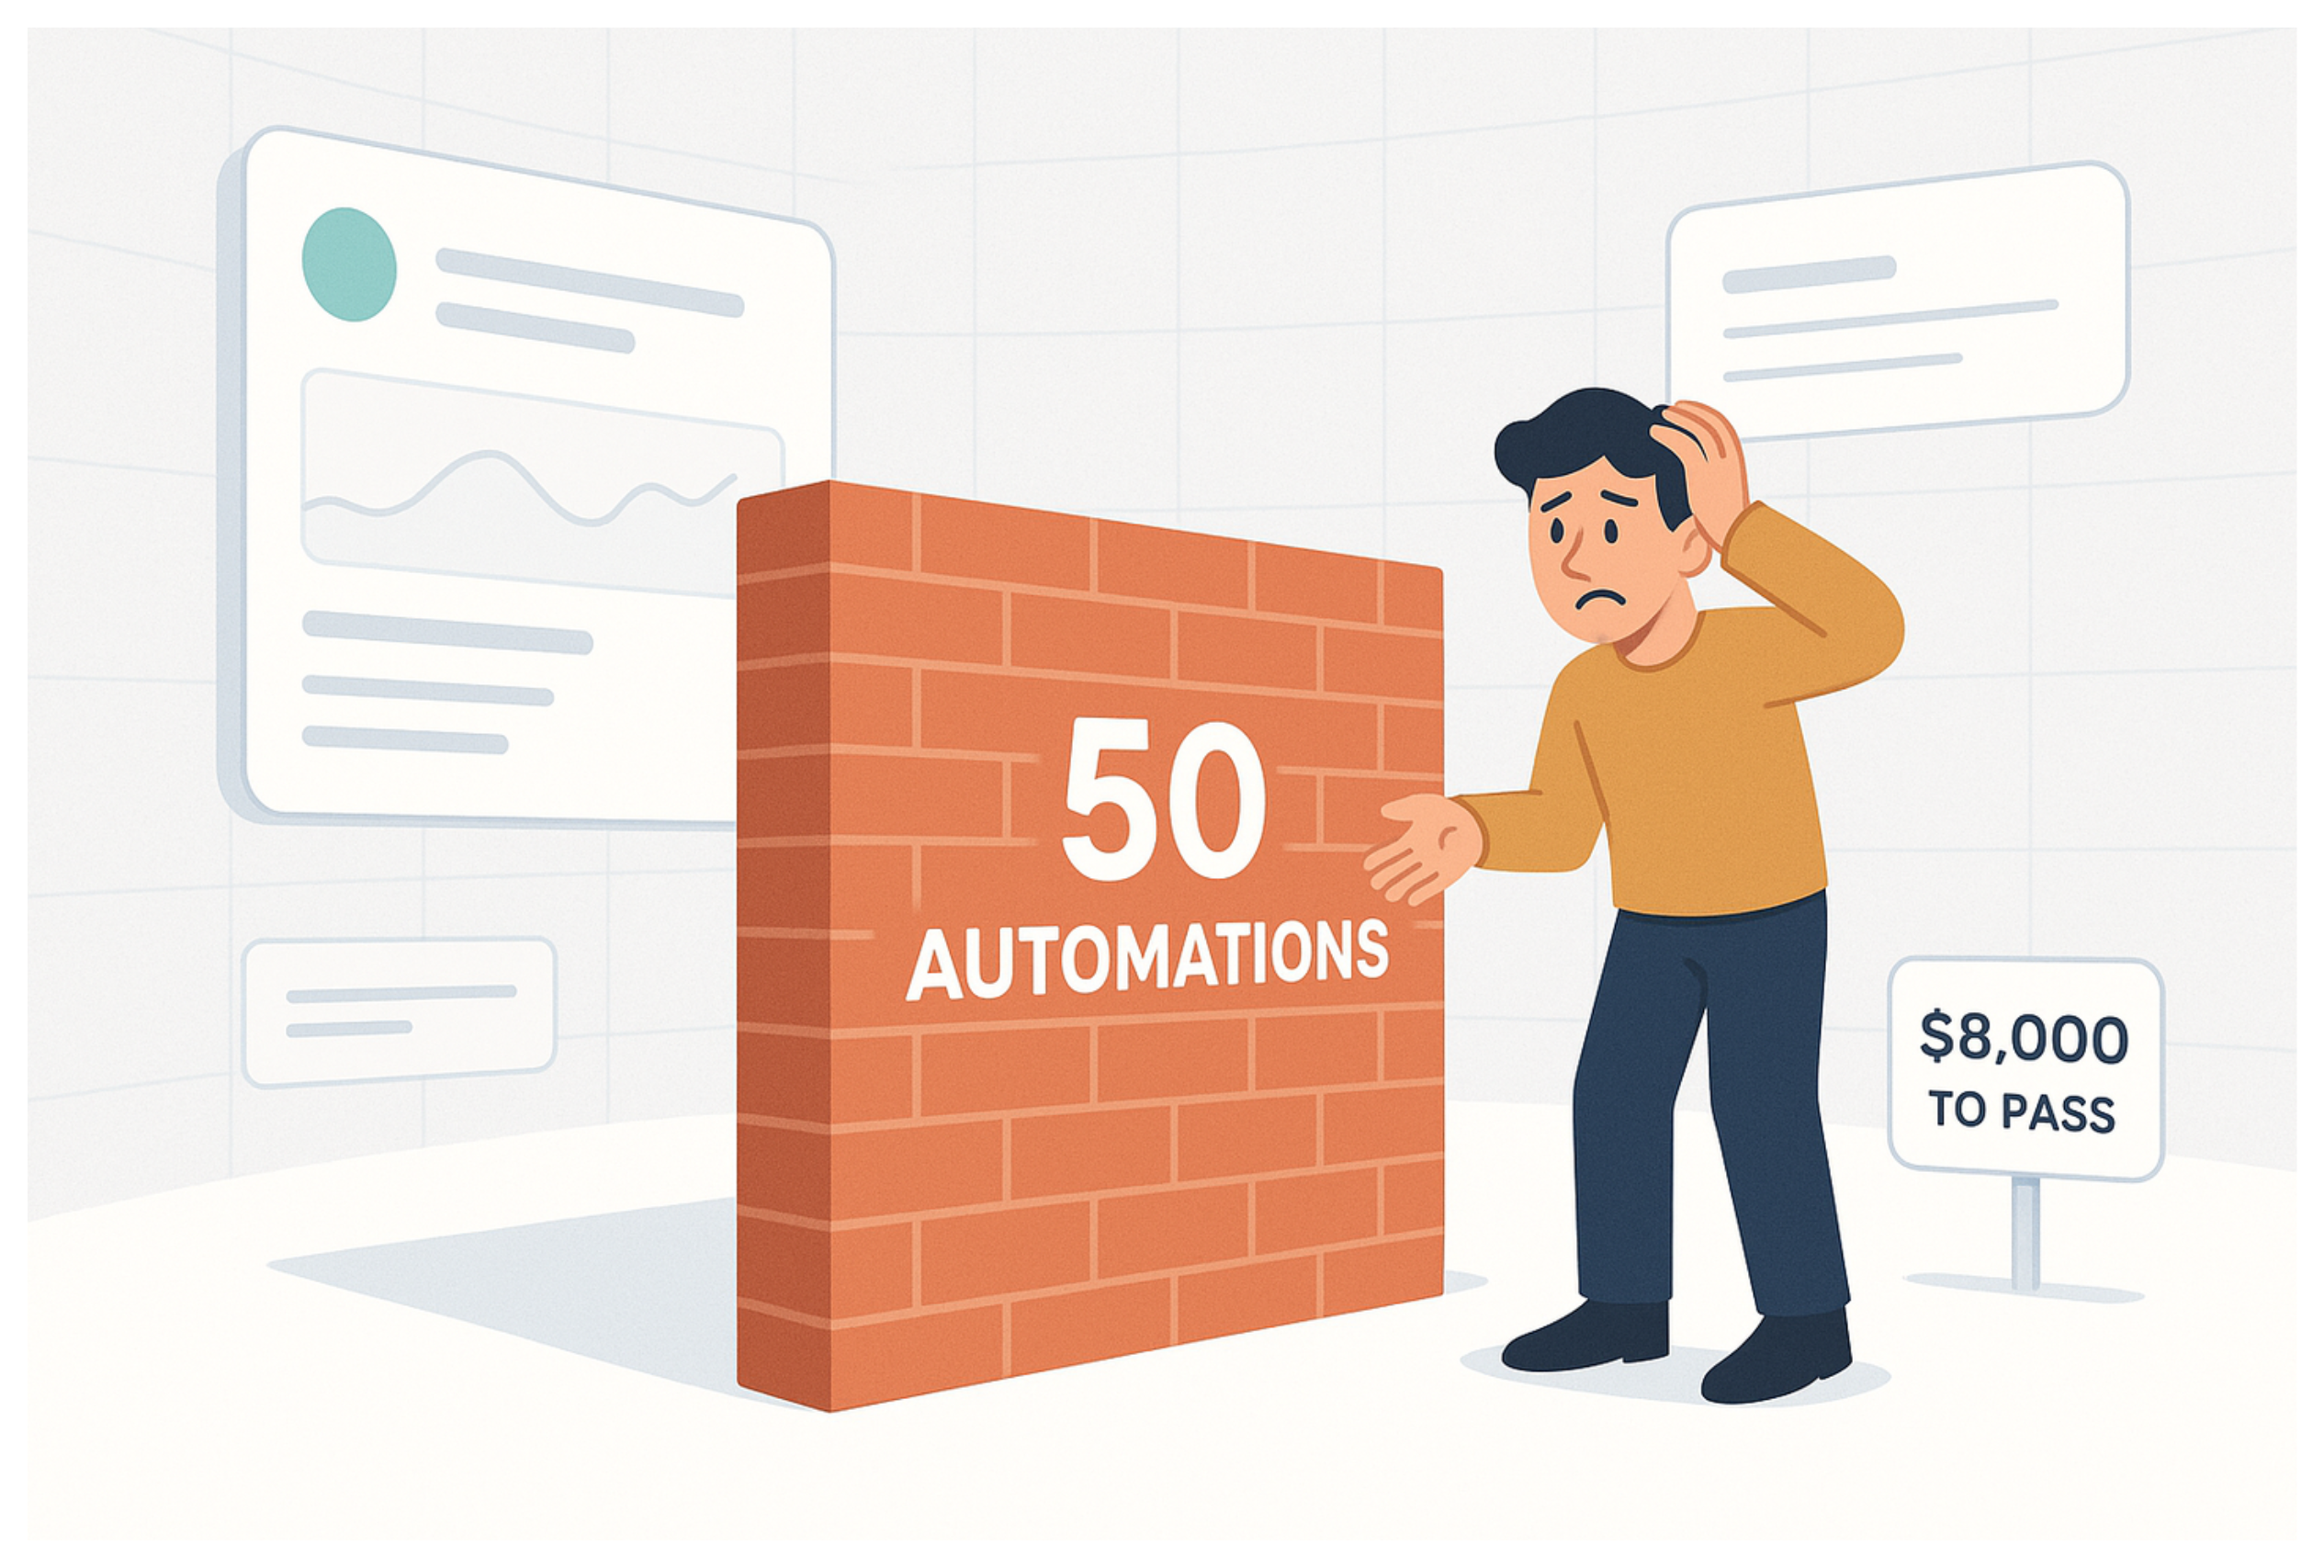
Each Airtable base is limited to 50 automations. This is not prominently advertised on the pricing page and most people only discover it when they try to create automation number 51 and Airtable stops them.
If you are on the Team plan or Business plan and need more than 50 automations, the only Airtable-native option is to upgrade to Enterprise, which starts at over $8,000 per year. That is a significant jump for what is often a relatively small workflow need.
The good news is that in most cases, hitting the 50-automation limit is a signal that your automations can be restructured, not that you necessarily need more slots. Here is how to work around it.
Before You Start: Audit What You Already Have
Before trying any of the workarounds below, spend 10 minutes reviewing your existing automations. Most bases that hit the limit have a fair amount of redundancy that can be cleaned up first.
Open your automations panel and look for:
Disabled automations that are no longer used. These still count toward your limit. Delete anything that has been off for more than a few weeks and is not going to be turned back on.
Automations that run the same action with different values. For example, five automations that each send a different email notification depending on a status value. These can almost always be collapsed into one.
After a cleanup pass, many bases recover five to ten slots without any restructuring. Do this first before committing to a bigger solution.
1. Merge Automations Using Conditional Logic
This is the first thing to try and usually recovers the most slots with the least effort.
Airtable automations support conditional logic inside a single automation. One trigger can branch into multiple paths depending on field values, which means one automation can replace five that were previously doing the same thing with different conditions.
How to do it
-
Identify a group of automations that all share the same trigger (for example, all triggered when a Status field changes)
-
Create a new automation with that trigger
-
After the trigger, add a Conditional step instead of jumping straight to an action
-
Set the condition for the first branch (for example, Status is "In Review")
-
Add the action for that branch
-
Click Add branch to add the next condition
-
Repeat for each of the original automations you are replacing
-
Once it is working correctly, delete the original automations one by one
The practical limit is that very long conditional chains can become hard to read and debug. If you are merging more than six or seven automations into one, it is worth adding clear names to each branch so you can tell what is happening at a glance.
This approach works especially well for notification automations, status-based emails, and anything where the trigger is the same and only the action varies.
2. Replace Daily Batches With a Single Script
If you have multiple automations that all run on a schedule (every day, every hour, every Monday), these are strong candidates to be replaced with a single scripting automation.
Instead of ten automations that each check a different condition at 9am and do something if it is true, one script runs at 9am, loops through your records, checks every condition, and handles every action in one pass.
What this looks like in practice
Say you have these four scheduled automations:
-
Every day at 9am: if a task is overdue, send a Slack message
-
Every day at 9am: if a deal has been in "Proposal Sent" for more than 7 days, update status to "Follow Up"
-
Every day at 9am: if a subscription renewal is within 14 days, create a reminder record
-
Every day at 9am: if a project has no assigned owner, send an email to the manager
All four can be replaced with one automation triggered at 9am that runs a script handling all four checks in sequence.
If you have not written Airtable scripts before, the scripting environment is more approachable than it looks. For logic like the above, you can describe what each automation does to an AI tool and ask it to write the script. The pattern is almost always: fetch records, loop through them, check conditions, run actions.
For help with writing scripts that process large numbers of records without timing out, see How to Deal With Airtable's 30-Second Script Limit in Automations.
3. Split Your Base Into Multiple Bases
If your automations fall into natural clusters that handle different parts of your operation, splitting them across multiple bases gives you 50 slots per base instead of one shared pool.
This works best when the workflows are genuinely separate. A base for client onboarding, a base for project delivery, and a base for invoicing each have their own logic that does not heavily depend on the others.
What to watch out for
Synced tables are read-only in the destination base. When you split a base, you need to decide which base owns each piece of data and make sure all the automations that need to write to that data live in the same base where the data lives.
If you have workflows where the same record needs to be updated by automations in two different bases, syncing will not help you. You would need to use Make to write back to the source base instead.
For bases where the workflows are genuinely independent, splitting is clean and does not require any external tools.
4. Move Complex Automations to Make or n8n
Make and n8n are external automation platforms that connect to Airtable via webhooks and the API. Moving some of your automations out of Airtable and into one of these tools frees up slots for the simpler automations that are easier to manage natively.
The most effective approach is to identify your most complex automations first, the ones with multiple steps, calls to external services (Gmail, Slack, HubSpot, etc.), or conditional logic that is getting hard to manage. These are the ones that benefit most from being in a visual workflow tool and that free up the most capacity when moved out.
A single Make scenario can often replace four or five chained Airtable automations. You keep the simple triggers-and-actions in Airtable, and anything with real complexity lives in Make where it is easier to build and debug.
Make vs n8n
Make has a free tier and a polished visual interface that is easier to get started with. It charges based on the number of operations your scenarios run each month, so costs scale with usage.
n8n is open source and can be self-hosted, which means the cost is flat (just the hosting) regardless of how many automations you run or how often. For teams already at the 50-automation limit with heavily used workflows, self-hosted n8n often works out significantly cheaper than Make at scale.
For a practical guide to connecting Make to Airtable via webhooks, see How to Trigger Make Webhooks Automatically from Airtable.
Choosing Your Approach
Start with the audit and the conditional logic merge. These cost nothing and usually recover enough slots to keep going for a while.
If you are still short after that, look at whether your scheduled automations can be collapsed into scripts. That tends to be the next biggest win for most bases.
If you have genuinely hit a structural limit, splitting the base or moving to Make or n8n are both solid options depending on how independent your workflows are and how comfortable you are with external tools.
For the related problem of running out of monthly automation run quota rather than hitting the 50-slot cap, see How to Limit Automation Runs in Airtable to Avoid Running Out of Quota.