How to Limit Automation Runs in Airtable and Avoid Running Out of Quota
Airtable gives you a fixed number of automation runs per month depending on your plan. The Team plan includes 25,000 runs per month. The Business plan includes 100,000. When you hit the cap, every automation in your base stops running until the monthly reset.
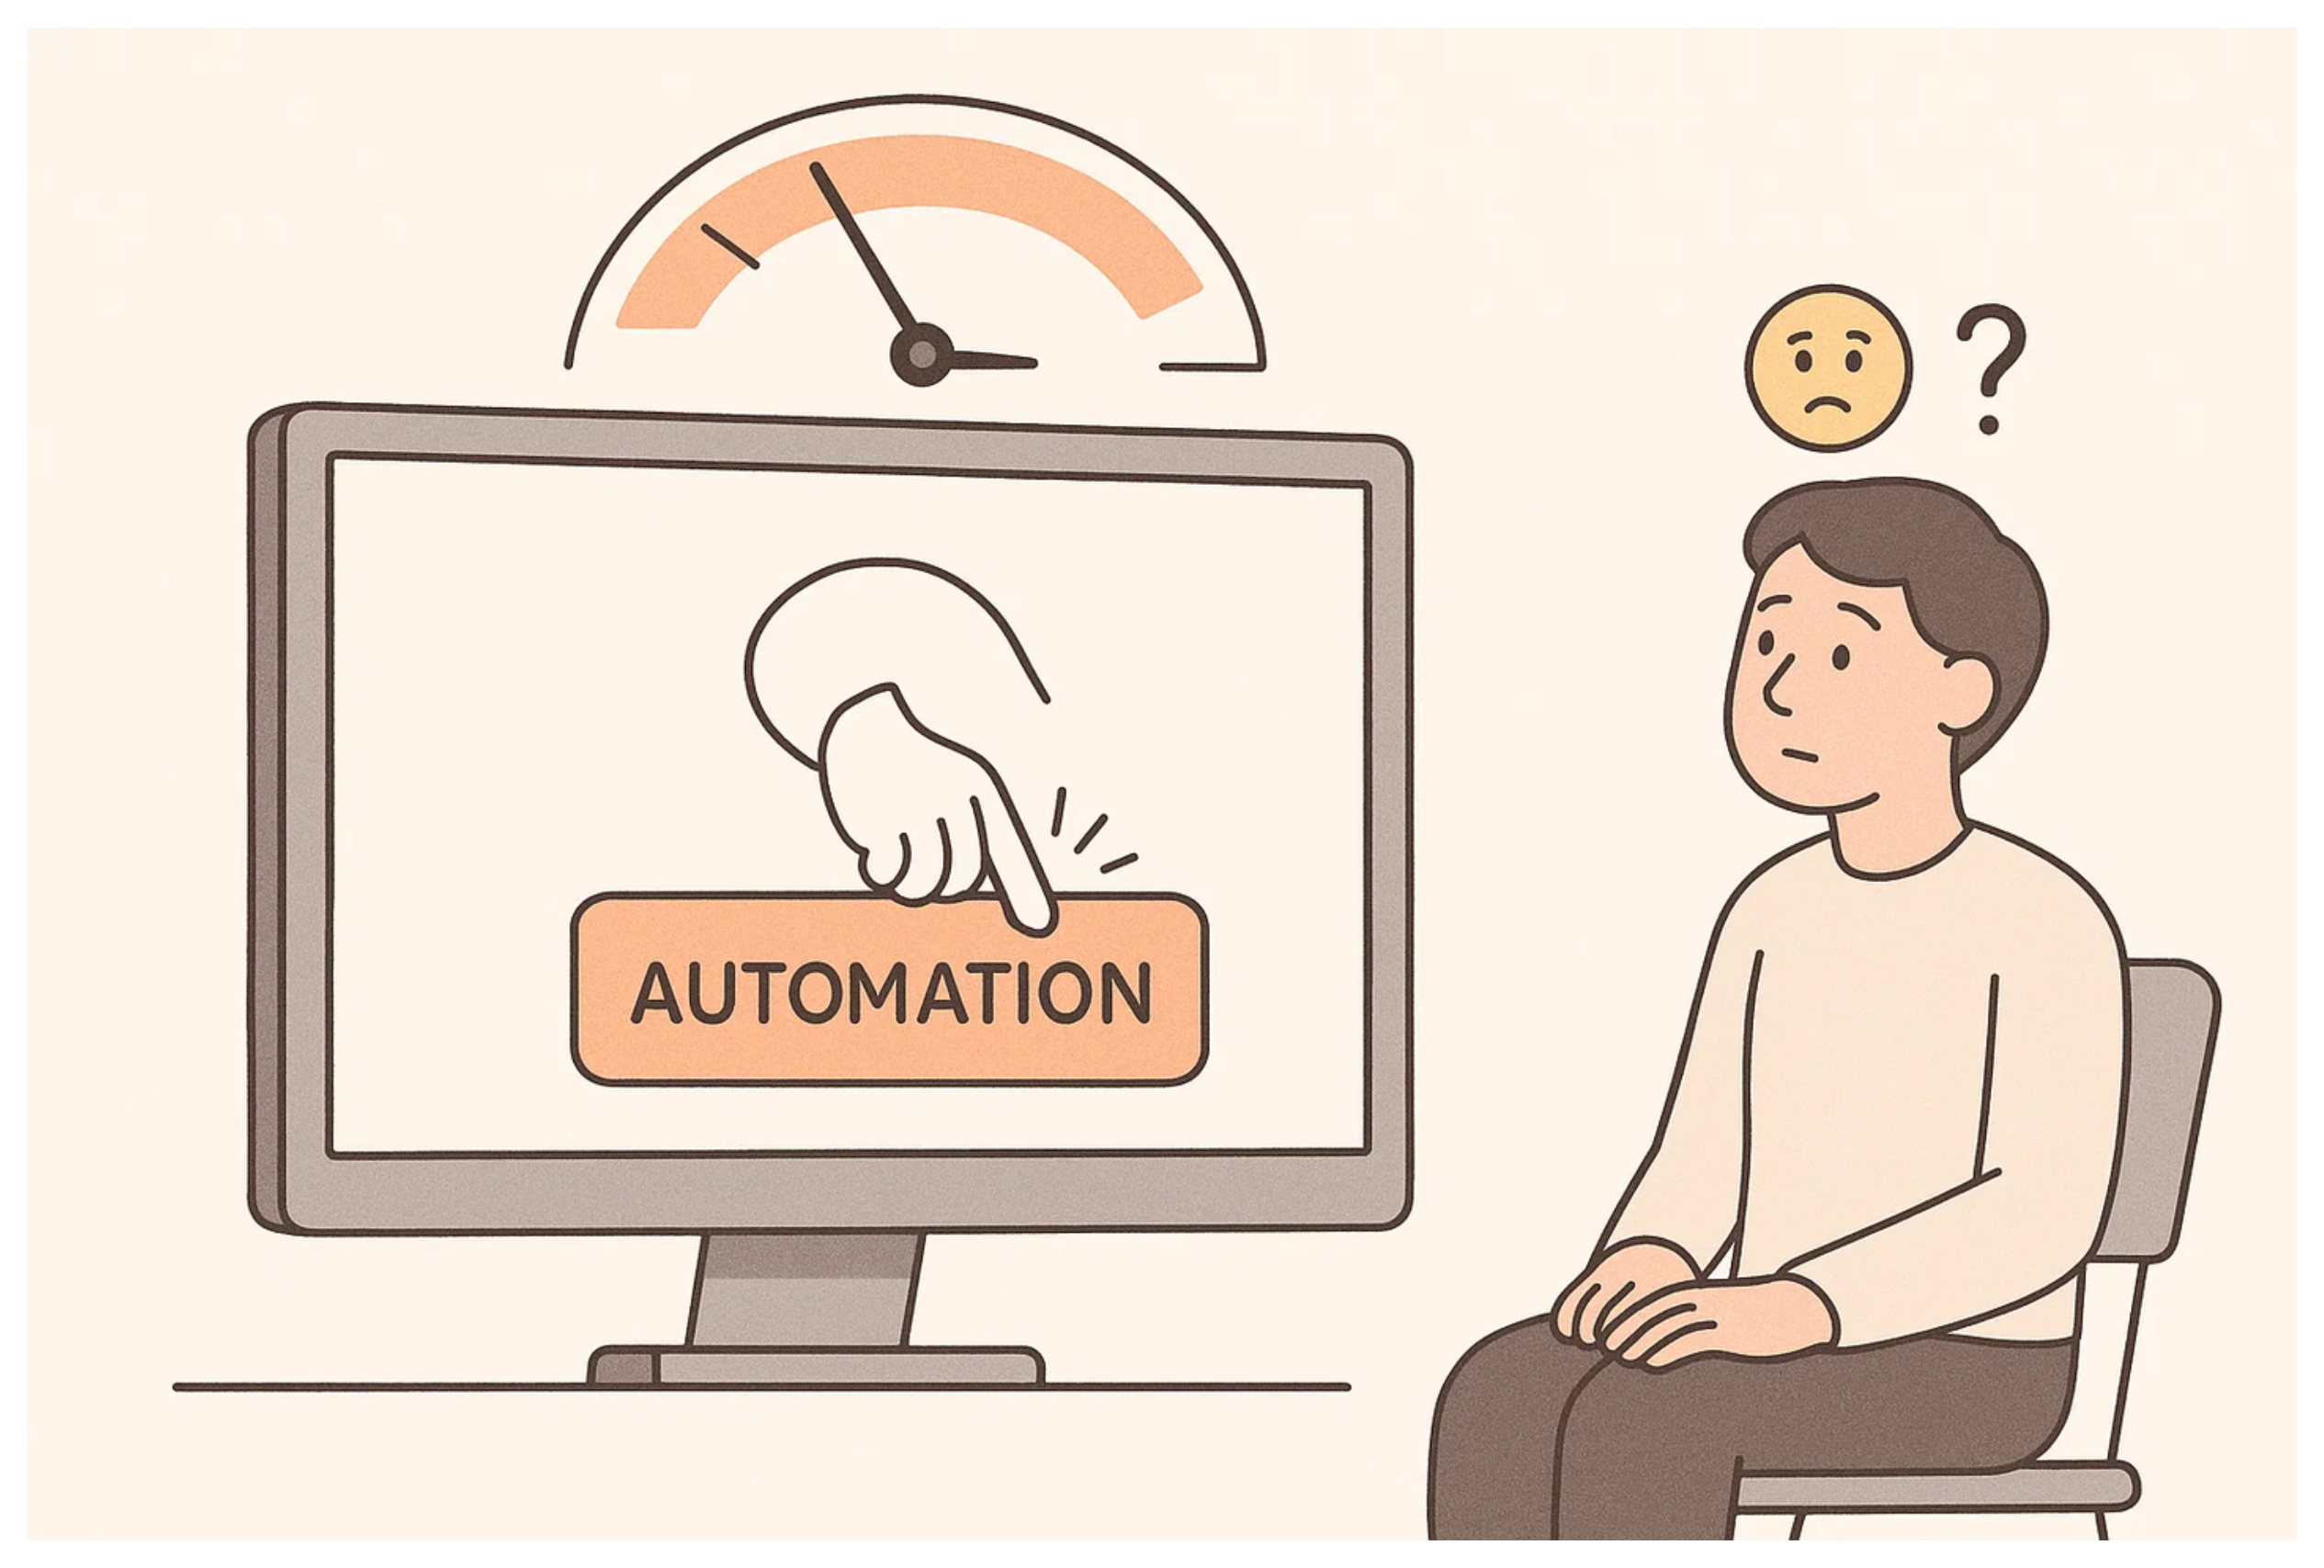
There is no daily sub-limit, no throttle, and no built-in alert when you are getting close. Airtable does not warn you. The automations just stop.
The most common way people discover this is when something goes wrong. An automation with a misconfigured trigger starts firing on every record in a large table instead of one. A loop in a script runs more iterations than expected. A scheduled automation triggers far more often than you intended. Within hours, the monthly quota is gone.
This article covers how to check where your quota stands, how to build a lightweight usage tracker inside Airtable, and how to structure your automations to reduce the risk of quota blowouts.
How to Check Your Current Automation Run Usage
Before building anything, check where you actually stand. Airtable shows your automation run usage in the workspace billing settings.
- Click your workspace name in the left sidebar
- Select Settings
- Go to the Billing tab
- Look for the automations usage section
This shows how many runs have been used in the current billing period and what your plan limit is. If you are approaching the cap, you will see it here.
Airtable does not show a per-automation breakdown of how many runs each automation has used in the billing panel. To see that level of detail, you need to open each automation individually and look at its run history. This is tedious for large bases, which is why a tracker is worth building.
Understanding What Counts as a Run
A single automation run is one execution of an automation from trigger to completion. If an automation has multiple steps, that is still one run. If the same automation fires 500 times in a day because a trigger condition was met 500 times, that counts as 500 runs.
What does not count as a run:
- An automation that is turned off
- An automation whose trigger fires but whose conditions are not met (the automation checks the condition and stops without proceeding)
- Manual test runs from inside the automation editor
The last point is important. Testing your automations in the editor does not consume your quota. You can test freely.
Why Runaway Automations Happen
The most common cause is a trigger that is broader than intended. Examples:
"When a record is updated" on a large table. If any field in any record triggers the automation, and you have a script that updates 200 records, each of those updates can trigger the automation again, creating a cascade.
"When a record matches conditions" with a condition that is always true. If the condition field is set to something like "Status is not empty" and Status is never empty, every new record triggers it.
Scheduled automations running more frequently than expected. A per-hour schedule on an automation that does a lot of work can exhaust quota faster than planned.
The fix for most of these is tighter trigger configuration and testing on a small filtered view before running against the full table.
Method 1: Build a Daily Usage Tracker
Since Airtable does not offer a built-in daily cap, you can build one using a table that counts runs per automation and sends an alert when a threshold is crossed.
Step 1: Create the tracker table
Create a new table in your base called Automation Tracker. Add these fields:
- Automation Name (single line text) - the name of each automation you want to monitor
- Run Count Today (number) - starts at 0, increments each time the automation fires
- Daily Limit (number) - the threshold you want to alert on, for example 100
- Over Limit (formula) - formula:
IF({Run Count Today} >= {Daily Limit}, "YES", "NO") - Next Count (formula) - formula:
{Run Count Today} + 1
Create one record per automation you want to monitor.
Step 2: Add a check at the start of each automation
At the very beginning of each automation you want to track, add a Find records action that looks up the corresponding record in the Automation Tracker table by name.
After the find, add a Conditional step. If the Over Limit field equals "YES", have the automation send you an alert (email or Slack) and stop. If it equals "NO", let the automation continue to its normal steps.

Step 3: Increment the run count at the end
At the end of the automation (inside the "NO" branch, after all the normal work is done), add an Update record action that writes the value of the Next Count formula field back into Run Count Today.
This effectively increments the counter by 1 each time the automation completes.
Step 4: Reset the counter daily
Create a separate scheduled automation that runs once per day at midnight. Its only job is to find all records in the Automation Tracker table and set Run Count Today back to 0.
This gives you a fresh count each day without any manual work.
What this tracker does and does not do
It alerts you when a threshold is crossed and gives you a daily view of how often each automation is running. It does not automatically turn off automations when the limit is reached. Airtable does not allow an automation to disable another automation programmatically. You will still need to manually turn off a runaway automation when you get the alert.
That said, the alert alone is usually enough. The point is to catch the problem within hours rather than finding out at the end of the month when the quota is gone.
Method 2: Tighten Your Trigger Conditions
Before building a tracker, review whether your existing automations are triggering more than they should. This is the most direct way to reduce run consumption.
Use a dedicated status field as a trigger. Instead of triggering on "when any field is updated", create a specific checkbox or status field called something like "Ready to process". Set the trigger to "when Ready to process is checked". After the automation runs, it unchecks the field. This ensures each record triggers the automation exactly once per intentional activation.
Filter the trigger view aggressively. Automations triggered by "when a record matches conditions" can be paired with a view that only shows records that genuinely need processing. Keeping that view clean prevents the automation from running on records it has already processed.
Add a "processed" flag. For automations that should run on a record only once, add a checkbox field called "Automation ran" and add a condition to the trigger: only fire if this field is unchecked. At the end of the automation, check the field. The automation will never run on that record again.
Method 3: Move High-Volume Automations to External Tools
If a particular automation runs hundreds or thousands of times per month and is consuming a significant chunk of your quota, moving it to Make or n8n removes it from your Airtable quota entirely.
Make and n8n each have their own operation limits (or flat hosting costs in n8n's case), but they do not count against your Airtable automation run quota. If you have one particularly chatty automation that fires 10,000 times a month, moving just that one out of Airtable frees up significant headroom for everything else.
This is also useful for automations that call external services. Airtable's automation steps for sending emails or calling webhooks each count as one run. In Make, the same logic can be part of a single scenario that only costs one operation regardless of how many internal steps it has.
For guidance on connecting Make to Airtable, see How to Trigger Make Webhooks Automatically from Airtable.
If you have hit the separate limit of 50 automations per base rather than the monthly run quota, see Hitting Airtable's 50 Automation Limit? Here's What You Can Do.