How to Track Attendance in Airtable (Step-by-Step Guide)
If you regularly run sessions, whether that’s classes, workshops, or mentorship programs, you probably want to know who is actually showing up.
Tracking attendance gives you a clearer picture of participation and helps you make better decisions for your next event.
In this article, I’ll walk you through how to set up an attendance tracking system in Airtable that can handle any type of program.
Step 1. Set Up Your Core Tables
To track attendance properly, you first need to define the main tables that form the foundation of your system.
You’ll need three tables:
-
Participants (or Students/Mentees) – Stores details about the people attending your events.
- Common fields: Name, Email, Phone
-
Workshops (or Sessions/Classes) – Lists every event, workshop, or session you run.
- Common fields: Workshop Name, Date, Facilitator
-
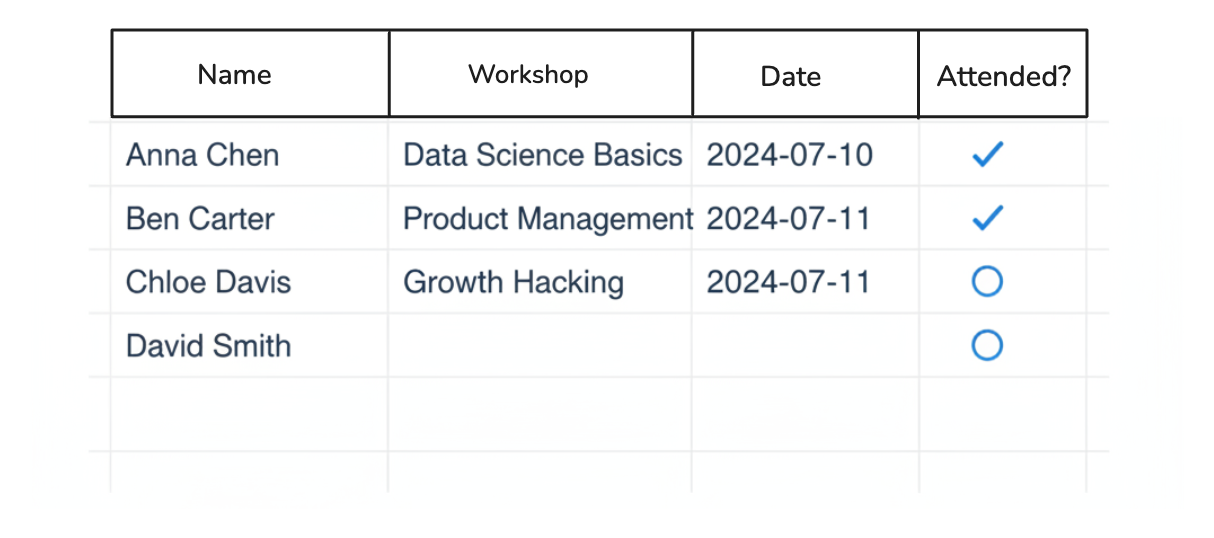
Attendance – This is the linking table that connects participants and workshops. Each record represents one participant’s attendance for one session.
- Common fields: Workshop (linked record to Workshops), Participant (linked record to Participants), Date, Status (Attended / Missed)
Step 2. Add a Simple Attendance Form
Instead of manually marking attendance, you can let participants submit it themselves using a form. Airtable makes this easy with the Forms tab.
Step 1. Create the form
-
In your Airtable base, click on the Forms tab in the top bar.
-
Click the New Form button.
-
In the modal that appears, select the Attendance table.
-
Give your form a name. Include the session name and date so it is easy to recognize, for example, “Workshop 1 – October 19.”
Step 2. Add the fields
-
Include fields such as Participant, Workshop, Date, and Status.
-
Remove any fields that participants do not need to fill out, such as internal notes.
Step 3. Pre-fill fields for convenience
For recurring sessions, you can pre-fill fields like Workshop and Date using URL parameters. This way, participants only need to select their name and attendance status.
Your form link could look like this:
yourformlink?prefill_Workshop=Workshop+1&prefill_Date=2025-10-19
Replace yourformlink with your form’s link and adjust the field names and values as needed.
Step 4. Share the form
Copy the form link or generate a QR code. Participants can scan the QR code or click the link to submit their attendance quickly.
This setup works for both in-person and virtual events. Each session can have its own pre-filled link so participants only need to confirm their name and status, making attendance tracking fast and error-free.
That’s it. Setting up attendance tracking in Airtable is simple and straightforward.