How to Set Up a Form That Adds Data to Multiple Tables in Airtable
Your client needs to fill out a form where they share all the details you need. You want to collect everything at once, but then store those details in different tables in your Airtable base.
You may have set up your base with multiple tables to organize the information properly. But by default, Airtable forms only send data to a single table. To get the data into all the right places, you need to add some extra steps.
There are a couple of ways to handle this. One uses Airtable’s own forms with automations. Another uses Fillout to create linked records in multiple tables directly.
Below I will walk you through both options so you can choose what works best for your setup.
1. Use Airtable Forms
If you want to keep using Airtable’s built-in forms and avoid any third-party tools, you can do this entirely in Airtable. The idea is to collect all the information in one table first and then use automations to send that data to the right tables in your base.
Start by creating a Submissions table. This is where every form response will land. Each time someone fills out the form, a new record is added here with all the details you need.
Next, build your form using the Submissions table. Make sure this table includes all the fields you want to store in your other tables. When the client fills out the form, they provide all the information in one place, and it is saved in the Submissions table.
Once the form is ready, you will set up an automation. This automation will run whenever a new record is created in the Submissions table. It will take the incoming data and create new records in your other tables using the values from that submission.
This approach keeps everything inside Airtable. Clients only need to fill out one form, and you can manage where the data ends up using automations.
2. Use Fillout
If you want your clients to fill out a single form and have their information go directly into different tables in your Airtable base, Fillout is a great option. It gives them the ability to create linked records themselves without any extra automation on your side.
To set this up, you will first need to create a Submissions table in your Airtable base. This table will store each form submission as one record.
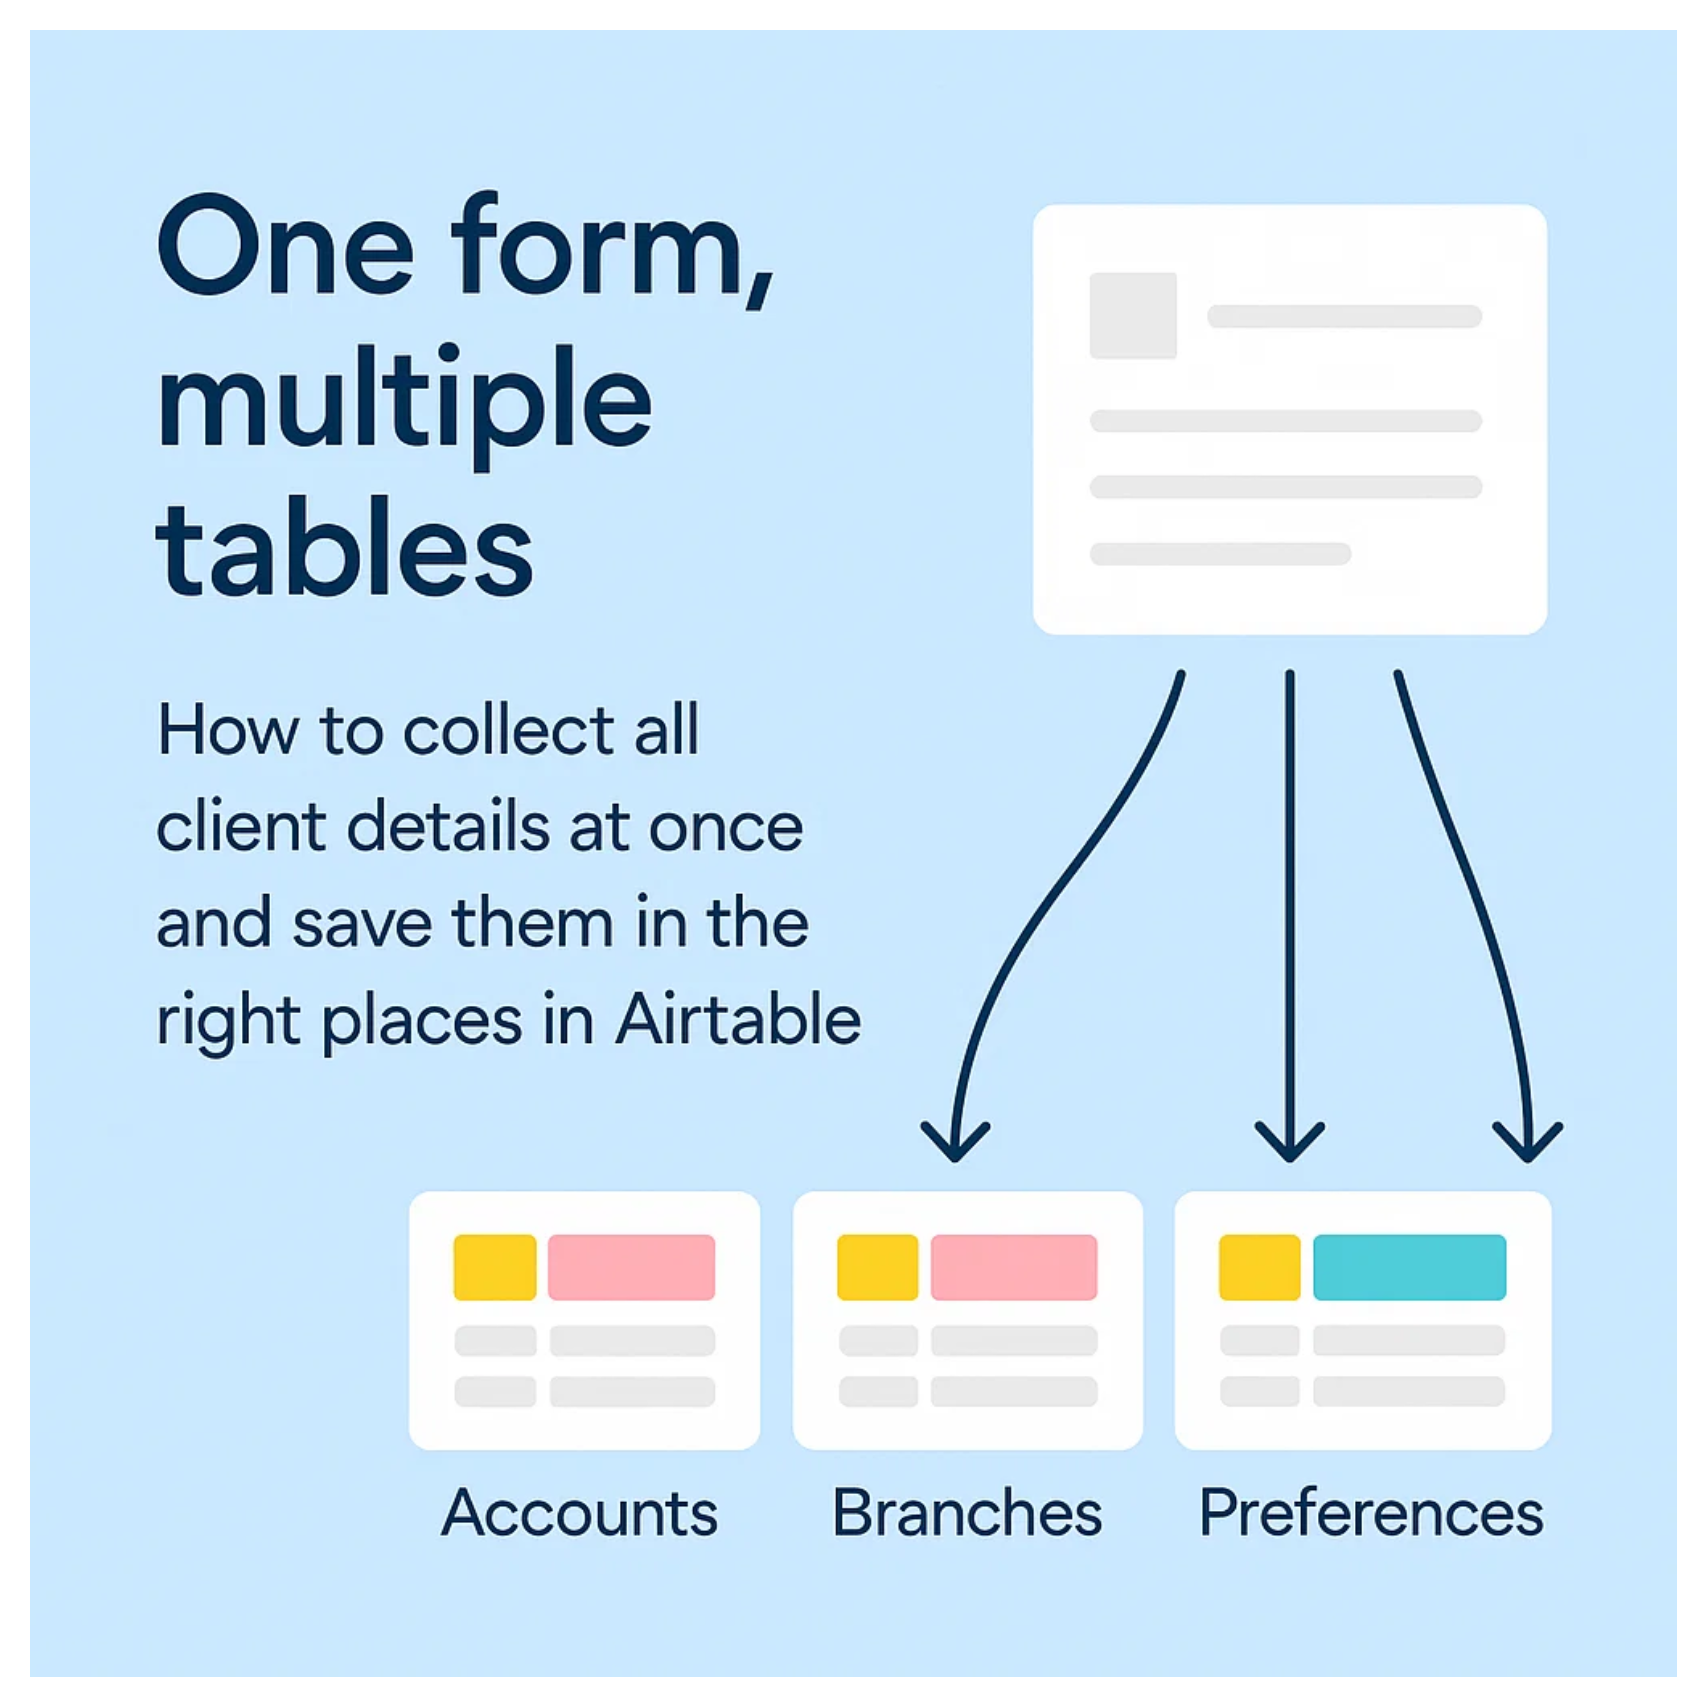
Then set up your other main tables where you want to save the detailed records. For example, you might have separate tables for Accounts, Branches, Preferences, or any other categories relevant to your process.
In Airtable, set up linked record fields in your Submissions table that connect to your other tables. In the field settings, you can choose to enable multiple linked records if you want clients to be able to add several entries in one submission. For example, they could include multiple Accounts, Branches, or Preferences all at once.
If you only need them to create a single record for each linked table, you can leave the multiple entries option turned off. This flexibility lets you design the form to match exactly how much detail you want clients to provide in one go.
Once your Airtable base is ready, go to Fillout to build your form. Choose your Submissions table as the base for the form.
Add the linked record fields you set up earlier, and enable the create new records option for each of them. This allows your clients to add as many new linked records as they need while filling out the form.
When the form is submitted, Fillout will automatically create one record in the Submissions table and multiple new linked records in your other tables.
This setup lets clients enter all their details in one form, with records automatically created in the right tables.
It helps keep your Airtable base organized without needing extra automations and is a good option if you want to reduce automation usage or handle more complex intake needs.